
At times, some incoming emails will get blocked by spam filters. This can happen for a number of reasons. Specifically, this article refers to emails from known senders that send emails frequently. Then one day, the emails no longer show up in your inbox and are instead sent to a spam folder. For some reason, that isn’t always obvious, a person that sends you emails on a regular basis has their emails flagged as spam. Due to this activity, creating a whitelist can come in very handy.
If you don’t check your spam regularly, you may not know you are missing these emails. When this happens, there is a quick way to solve the problem in order to avoid having these emails marked as spam. This is done by creating a whitelist. A whitelist is a list of emails that are inputted as an approved sender list, so that these emails from that sender are never moved to the spam folder.
The first step is to log in to cPanel. The cPanel login can be accessed by opening your web browser and going to https://cpanel.yourdomain.com/ substituting “yourdomain” for the link to your website.
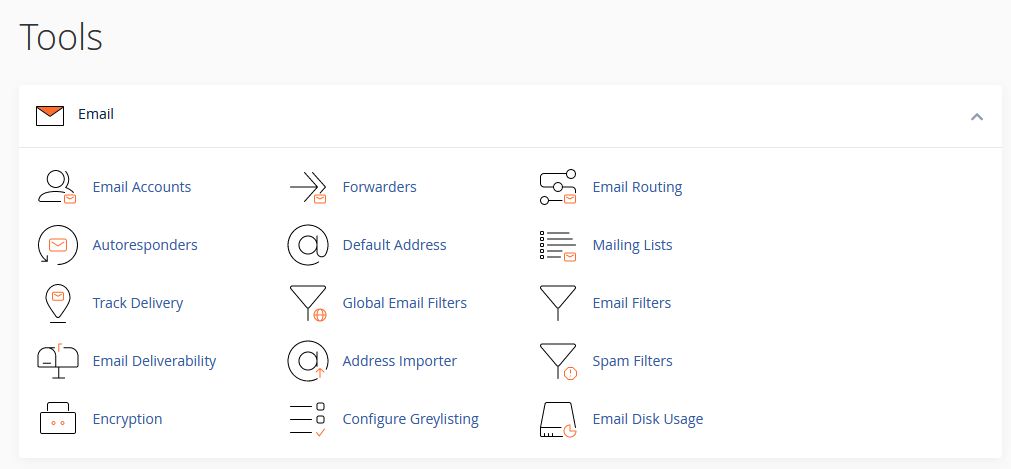
After inputting your email address and password, look for the section labeled “Email” which will be located at the top of the cPanel. Within this section is a menu option, “Spam Filters”. Click on this menu option and it will take you to the Spam filter settings.
There are many options for the spam filters including turning the spam box on and off, and the auto delete feature. However, for this tutorial, we will be advancing down the page to the additional configurations. This is located at the bottom of the page and labeled “For Advanced Users”.
Spam Filter Options
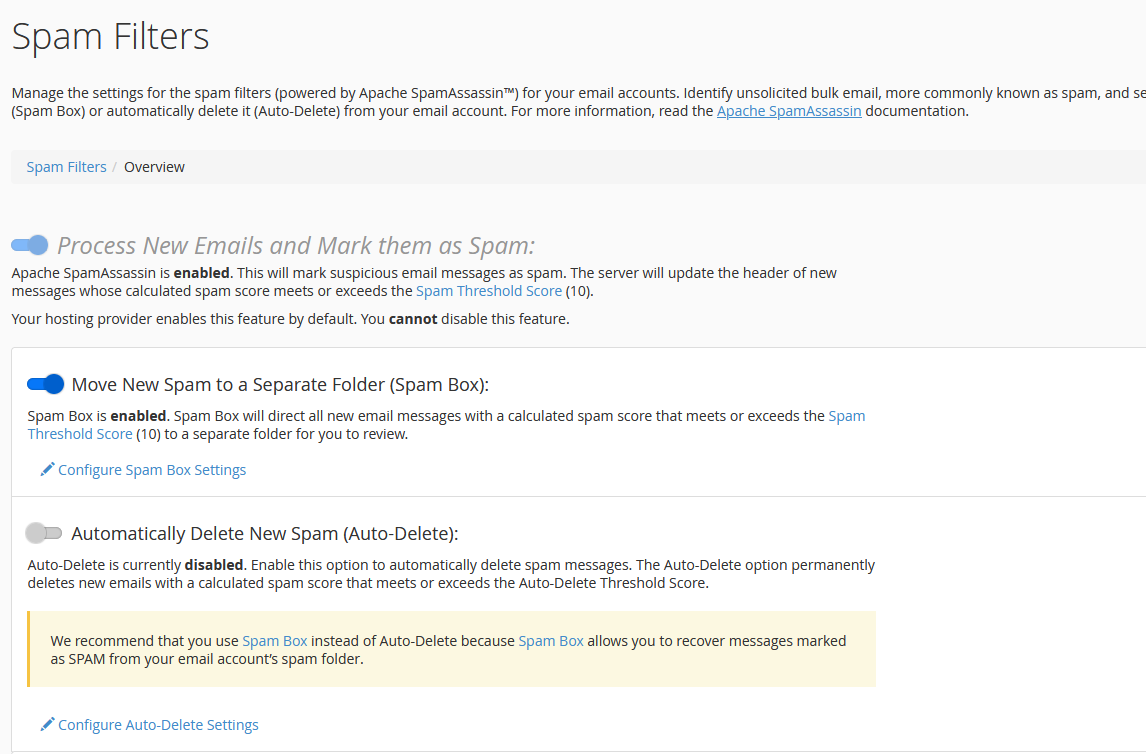
Click the HTML link just below the header for this section that is labeled “Show Additional Configurations”.
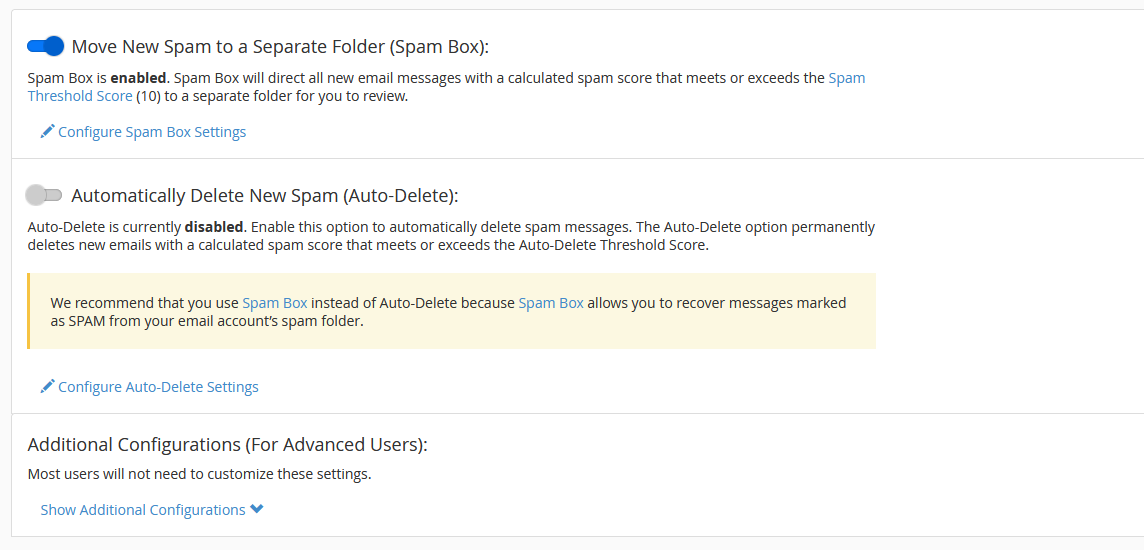
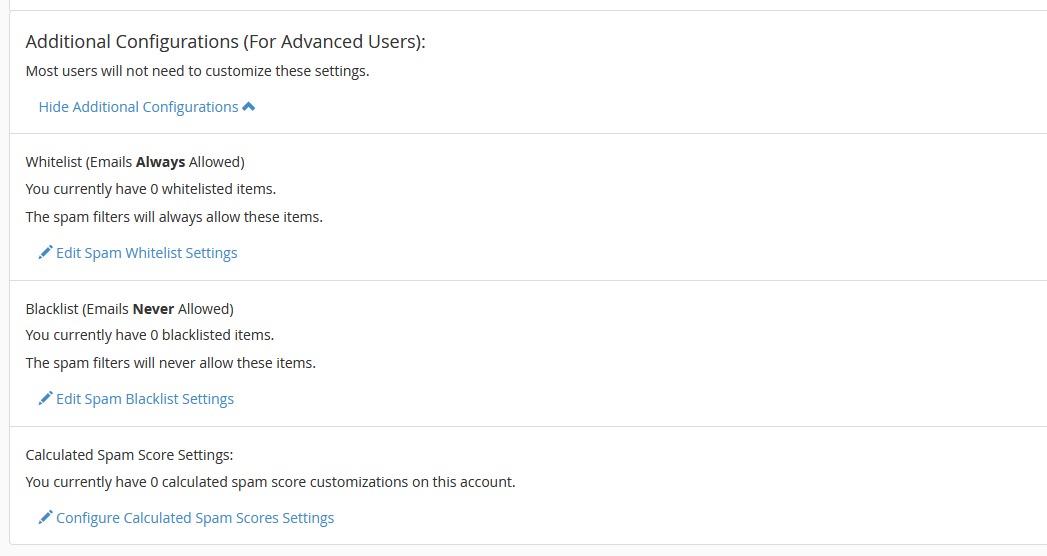
This submenu reveals additional options for configurations related to the spam settings. Of course the option we are interested in is the whitelist settings. Click the HTML link labeled “Edit Spam Whitelist Settings”.
This will take you to the place where you can enter email addresses that you want to make sure do not get caught by your spam filters. Any email addresses you list here will override the spam filters and be automatically allowed through. To start, click on the HTML link with the plus sign that is labeled “Add A new “whitelist_from” Item. This will open up a form field for you to enter an email address that you want to make sure does not get caught in the spam filters.
Creating the Email Whitelist
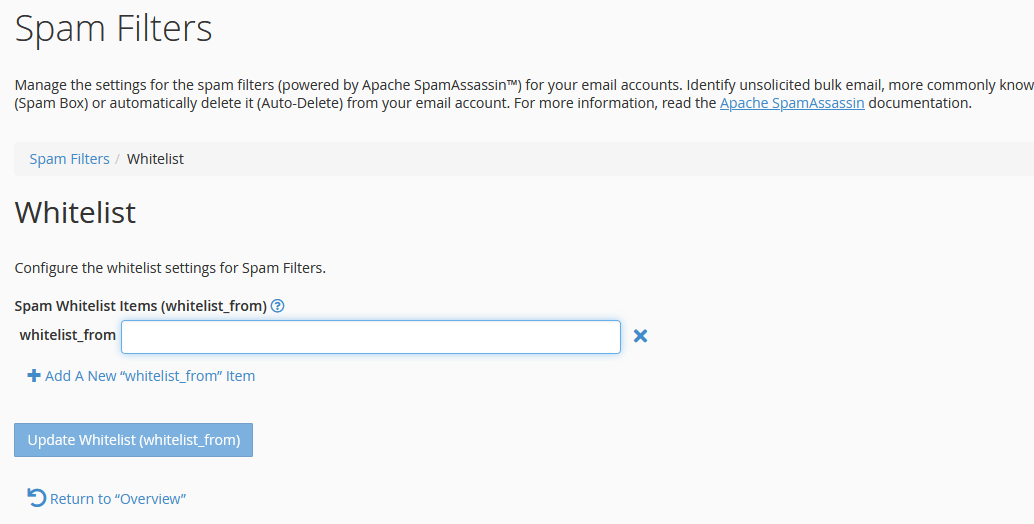
If you have multiple email addresses to enter, repeat the last steps above. Once you enter all email addresses, click the blue button to save your changes.
You can add to this list at any time. Email addresses can also be removed from this list as well. To remove an email address, click on the X at the end of the form field and that email address will be removed. Remember to click the blue button to save your changes.
That is all that you need to do to create a whitelist using cPanel. These email addresses will now safely pass through the spam filter.